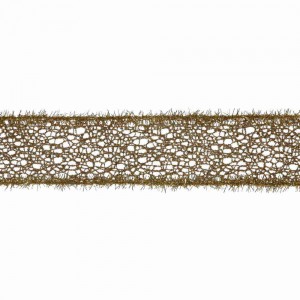
Wire edged ribbon bows are readily available at your local home decor store but why spend so much money on pre-made bows when they are so easy to do yourself? If you have never tried to tie a wire edged ribbon bow before, this is the perfect one to start with. All you need in a spool of wire edged ribbon, foot or so of floral wire, and a pair of sharp scissors.
This step-by-step tutorial will help you make a three-loop bow that is perfect for tying around the base of a tree or wreath but it could also be used to decorate a pretty christmas present and so much more. Once you have mastered this simple bow, you will be adding them to items throughout your home.
Step 1:
Find a piece of cardboard that is the same width of that you want your finished bow to be. Starting at the left edge of the back of your board, wrap the ribbon around your board three times.
Step 2:
Snip the end of the ribbon at the far edge of the back of the board. Slide the ribbon off the board and cinch it in the center with the piece of floral wire.
Step 3:
Take one end of the ribbon from around back and loop it around the center front, tying it off in the back again with the same floral wire. Trim the ends of the ribbon and it is ready to add to your favorite vase, tree base, or wreath.
The best part about making your own wire edged ribbon bows is that you are able to choose the exact ribbon you want, customizing it to coordinate with your home’s decor and style. A simple bow can take a neutral item and dress it up for any holiday, thanks to a roll of festive ribbon and a couple minutes of your time.
About Philip Travers
Twitter •


 WishLists
 My Account


