

 WishLists
 My Account


Have you seen those decorative artificial plants with burlap wrapped bases and wondered how they do it? Today we are going to answer just that question. Yesterday I gave you a close-up look at our 4 foot artificial cedar tree. Now we are going to take that same tree and show you how to hide the simple plastic pot with a DIY burlap wrapped pot. The finished fall topiary would look great on a front porch.

Supplies:
- 1 Yard Burlap
- Floral Wire or String
- Scissors
- Ribbon
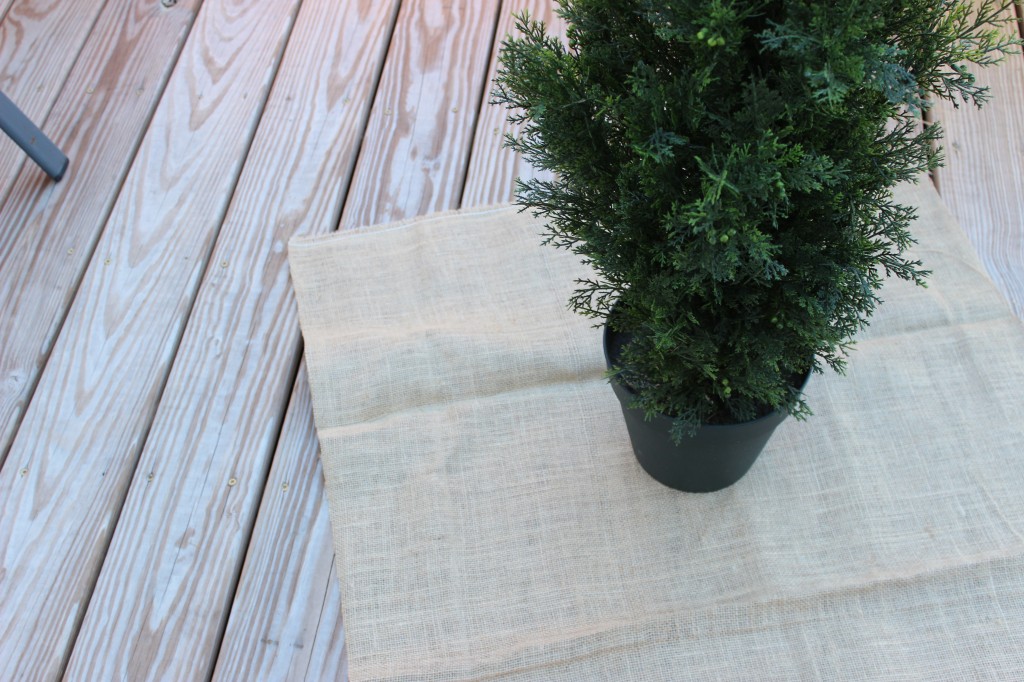
Step 1: Lay Out Your Burlap
For this project you will need a yard of burlap. You can get this material at any craft supply store. It comes plain, as I have used here, or with printed designs. If you are using one with printed designs you will want to lay it down with the right side facing down for this step.
Lay out your burlap on a flat surface. Place the plant and pot on top of the burlap and position it in the corner so that it is about equally spaced on two sides. Take those two sides and pull them up to ensure they cover the pot itself with at least 8 or 9 inches to spare.
Step 2: Cut Your Burlap
Measure the distance that you have from the bottom of the pot to the straight edge of the burlap. Cut the other two sides of the burlap to that same distance until you have a square. The pot should be placed centered in the middle of the square.

Step 3: Gather and Secure Burlap
Cut a long length of floral wire or string. Gather up the four corners of the burlap and have a helper (a second set of hands is so helpful) tie or twist the string or wire securely around the gathered material. Gently pull on each side of the burlap until it is taught around the plastic pot. If any repositioning is needed go ahead and do it at this point.
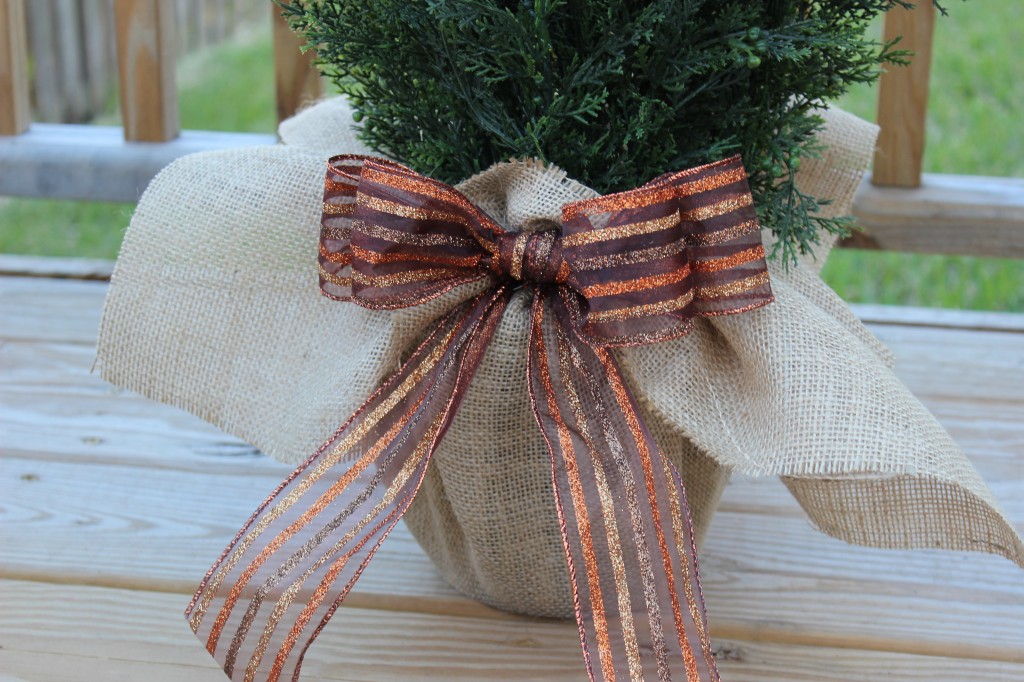
Step 4: Add a Ribbon and Bow
Now that the burlap is secured the fun part begins. We are able to add any decorative ribbon we want. I chose a gorgeous glittery stripe with shades of brown, orange, and gold. Because the burlap has already been secured with string or wire, the ribbon can be changed out season after season while the burlap stays in place.
I hope you enjoyed this fast and easy fall decorating tutorial. Be sure to share your finished projects on our Facebook page.
About Philip Travers
Twitter •
