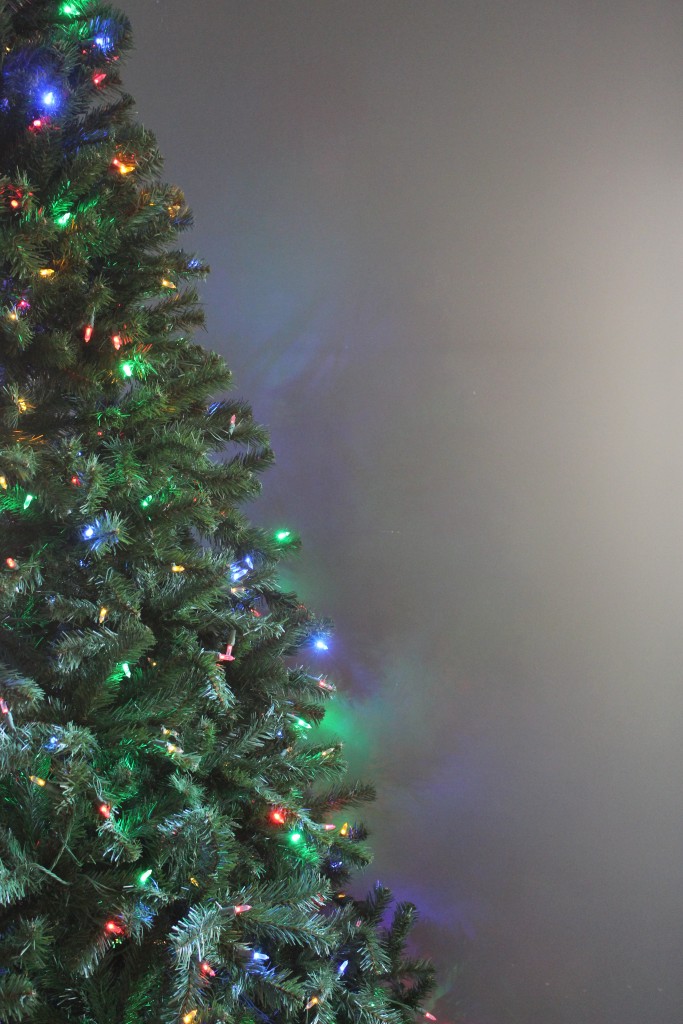
As soon as Thanksgiving is over we all set to work taking down our fall decor and switching it out for festive Christmas decorations. The Christmas Tree is absolutely the showpiece of your holiday decor. Today, we are going to focus completely on how to set-up an artificial Christmas tree. From the initial unboxing to the final arranging of branches, we are going to go step-by-step through the process and show you how easy it is to use an artificial tree to decorate your home for the holidays. If you are a visual person, check out our YouTube video below to see how to set up an artificial Christmas tree the correct way.
Step 1: Unboxing
When you initially unbox your artificial Christmas tree you should find instructions, a metal base, and three or more tree sections. Pull each one out of the box and arrange them on the floor around you.
Step 2: Open the Base & Add First Section
Start by opening the base and placing the largest of the sections into the base. The section may feature a cap on the end of the section. If so, remove the cap. Tighten the eye pin until the end is secured in the base.
Step 3: Lower Hinged Branches & Assemble Remaining Sections
Gently lower each of the hinged branches to reveal the top tube of the bottom section. Place the second section into the first section. Lower the hinged branches of the second section and add the third section of the tree.
Step4: Connect Lights
If you have decided to purchase a pre-lit artificial Christmas tree, take a moment to connect the light strands. Each section should have a small plug that attaches to the section below it. Some trees also feature a plug at the top of the tree. This plug is intended for lighted tree toppers such as stars and angels.
Step 5: Fluff the Branches
The fifth and final step of the tree assembly process is fluffing the branches. When the tree is packaged, the branches are all placed in the same direction to prevent damage during shipping. Start on the bottom row and carefully arrange each branch. Move one to the left, one to the right, and one upwards. Repeat until each stem on the branch is arranged. Continue your way around the first row before moving to the next row. Continue in this pattern until you have reached the top section of the tree.
Enjoy Your Christmas Tree
That is all there is to it! Setting up an artificial Christmas tree is just as easy as setting up a real tree, especially if you purchase a pre-lit artificial Christmas tree. From start to finish it took us just a half hour to unbox and fully assemble this 7.5 foot North Valley Spruce tree with clear/multi-colored lights.
About Philip Travers
Twitter •


 WishLists
 My Account


