

 WishLists
 My Account


Does this weather have you down? I have a great craft project that is quick and easy. These chalkboard coasters double as name card for your next dinner party and are a great stay-busy activity for kids to do at a table. All you are going to need is a pack of porcelain coasters (1.99 for a 4-pack at Michaels), chalkboard paint, a foam paintbrush, and a pack of chalk markers. I got both of these products at Michaels as well. You gotta love one-stop shopping.
Chalkboard Coasters
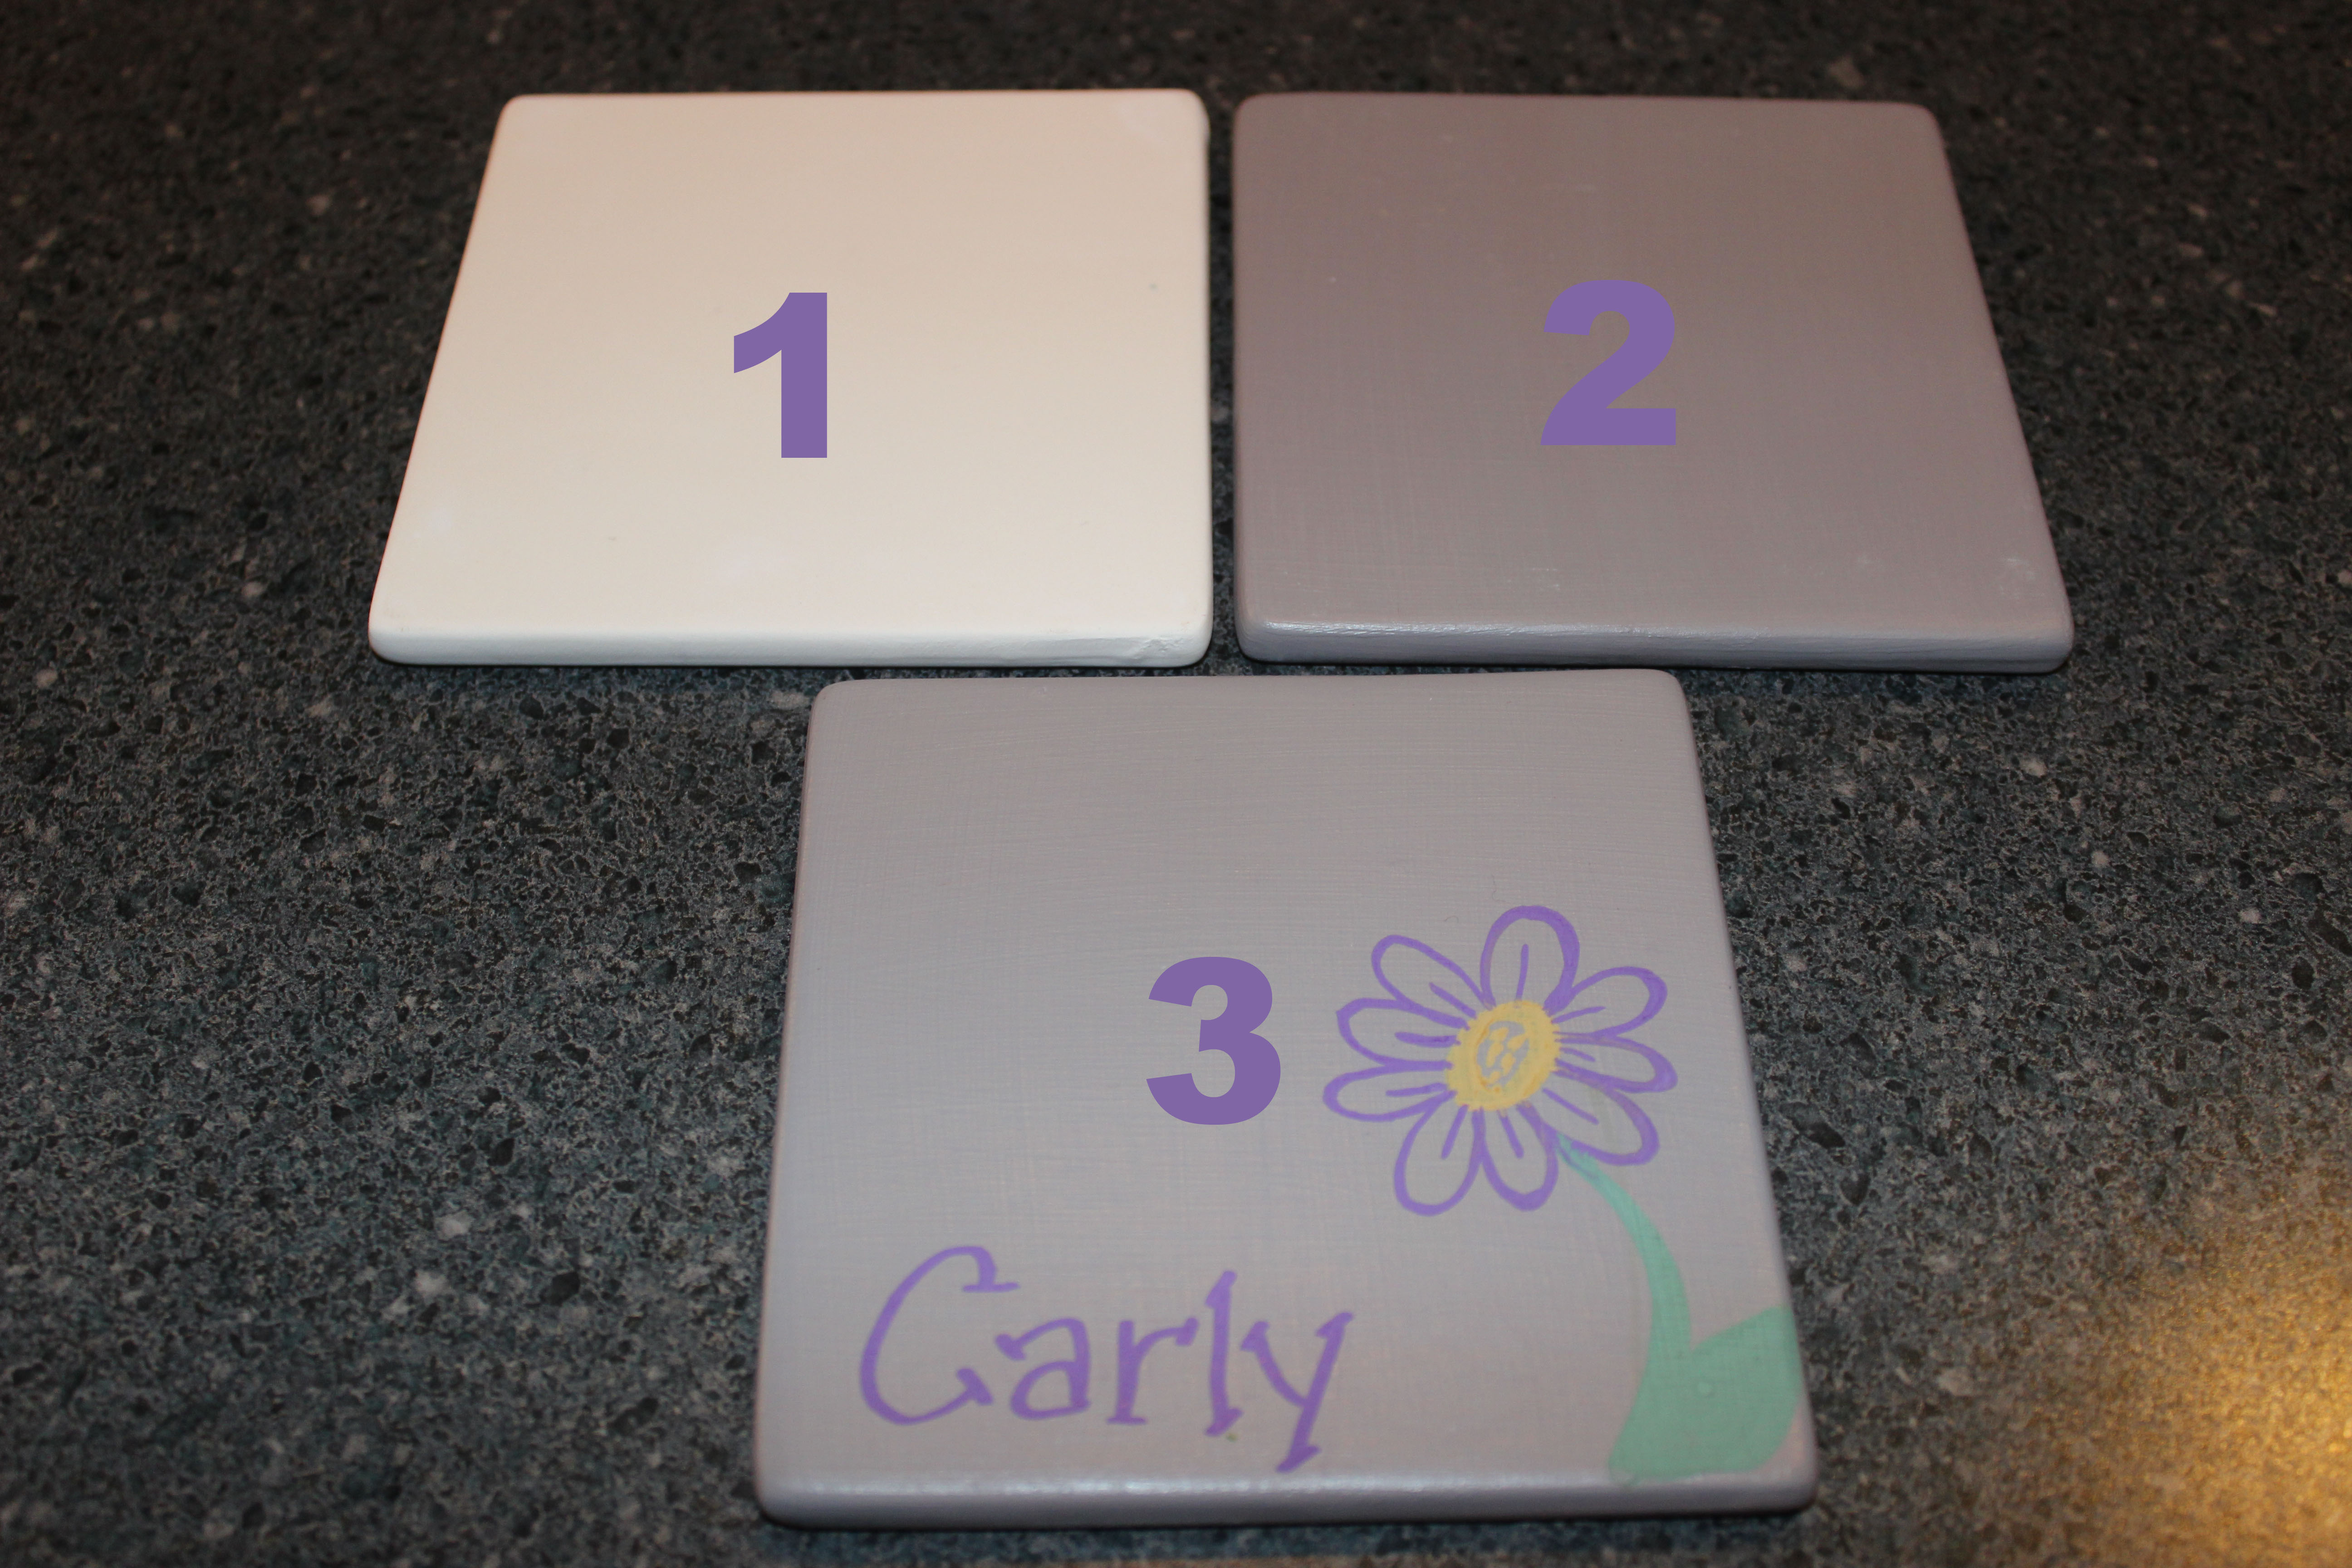
Step 1: Prep your surface by making sure that it is both clean and dry. You don’t want any dust or particles to be on the surface prior to painting.
Step 2: Apply three thin coats of chalkboard paint to the top and sides of the coaster. Allow each coat to dry in between applications. When you have finished the third coat, allow the coaster to dry overnight.
Step 3: Decorate the finished coaster with your chalk paints. Add a name along the bottom edge and a beautiful hand-drawn flower alongside it. This chalk paint wipes off with a wet rag so you can reuse your coasters time and time again.
This fast project is entirely appropriate for big kids to take part in and would make a great gift idea. Check out this project step-by-step by watching our YouTube video. If you love our tutorials become a subscriber of our YouTube channel.
About Philip Travers
Twitter •
