

 WishLists
 My Account


Have you always wondered how to properly fluff and shape an artificial tree? Our latest YouTube video takes you from the initial unpacking of the tree straight through the fluffing and shaping process. In just a few minutes you will see how easy it is to shape the leaves and branches in a way that looks completely natural. For the purpose of this tutorial we have used our 3-foot Zebra plant, but the same process applies to all of our large-leaf artificial plants. Shaping an artificial plant is easy once you know the process. Before you can get started you need a plant to work with. Check out our extensive collection.
Initial Unboxing
Artificial trees come in a long and narrow box. These pre-potted plants are arranged so all branches and leaves are pointed straight up and laid flat to protect them from damage during the shipping process. Slice through the tape on both ends of the box and carefully remove the plant, holding it at the pot, which is the heaviest part of the plant. Place the plant on a table so it is a comfortable height for you to work with.
Shaping the Leaves
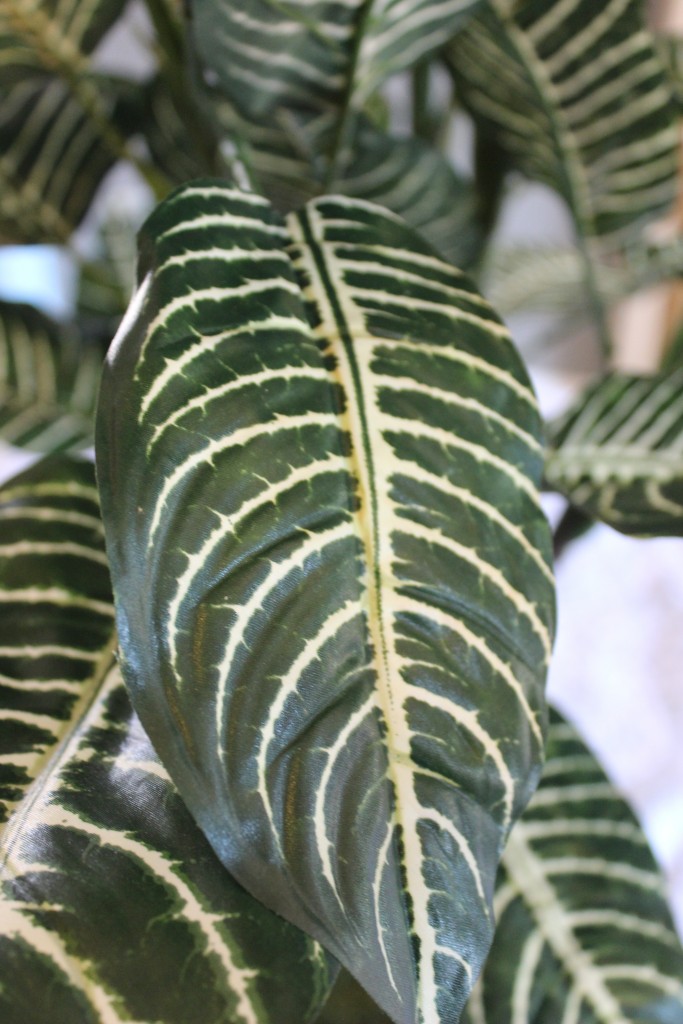
For the shaping process, we are going to start at the bottom of the plant and work our way up to the top leaves. This tree has four separate branches. Pick one to start with, choose the lowest stem and leaf and gently run your thumb and forefinger over the wire in the central spine of the leaf, curving it ever so slightly over the curvature of your thumb. Slowly work your way from the base of the stem to the outer tip of the leaf. The wire in the center of the stem will help keep the shape you create.
Work Your Way Up
Shaping an artificial plant is done one leaf at a time. Work your way up the plant to the top. when you reach the uppermost leaves, reduce the amount of curve you put in the leaves, allowing them to stand a little bit straighter. This is the way they would grow on a real plant. When you are done shaping all the leaves, rotate the plant slowly on the table, looking to see if you have any areas you need to tweak. If you have extra space anywhere, fill them in with
Check Out the Video
We walk you through the entire process in this YouTube Video. Tomorrow we will release part two of the series, where we use this artificial plant to brighten up a drab corner of a living room. If you are looking for a bit of inspiration on how to use artificial plants around the home, that will be the video for you. We hope you enjoyed this tutorial. Feel free to contact us with any questions you may have. We are always here to help.
What Our Customers Are Saying:
“The best artificial plants I’ve ever laid my eyes on. They are so real all my friends thought they were real plants. The pots plus the overall layout is just awesome.” Banny – Towson, MD
About Philip Travers
Twitter •
