

 WishLists
 My Account


It is the day before thanksgiving and if you are looking for a quick, last minute decoration for tomorrow, here is a quick project that you can do. If you are a paper crafter, you may even have everything you need to complete this paper banner in your stash of craft supplies.
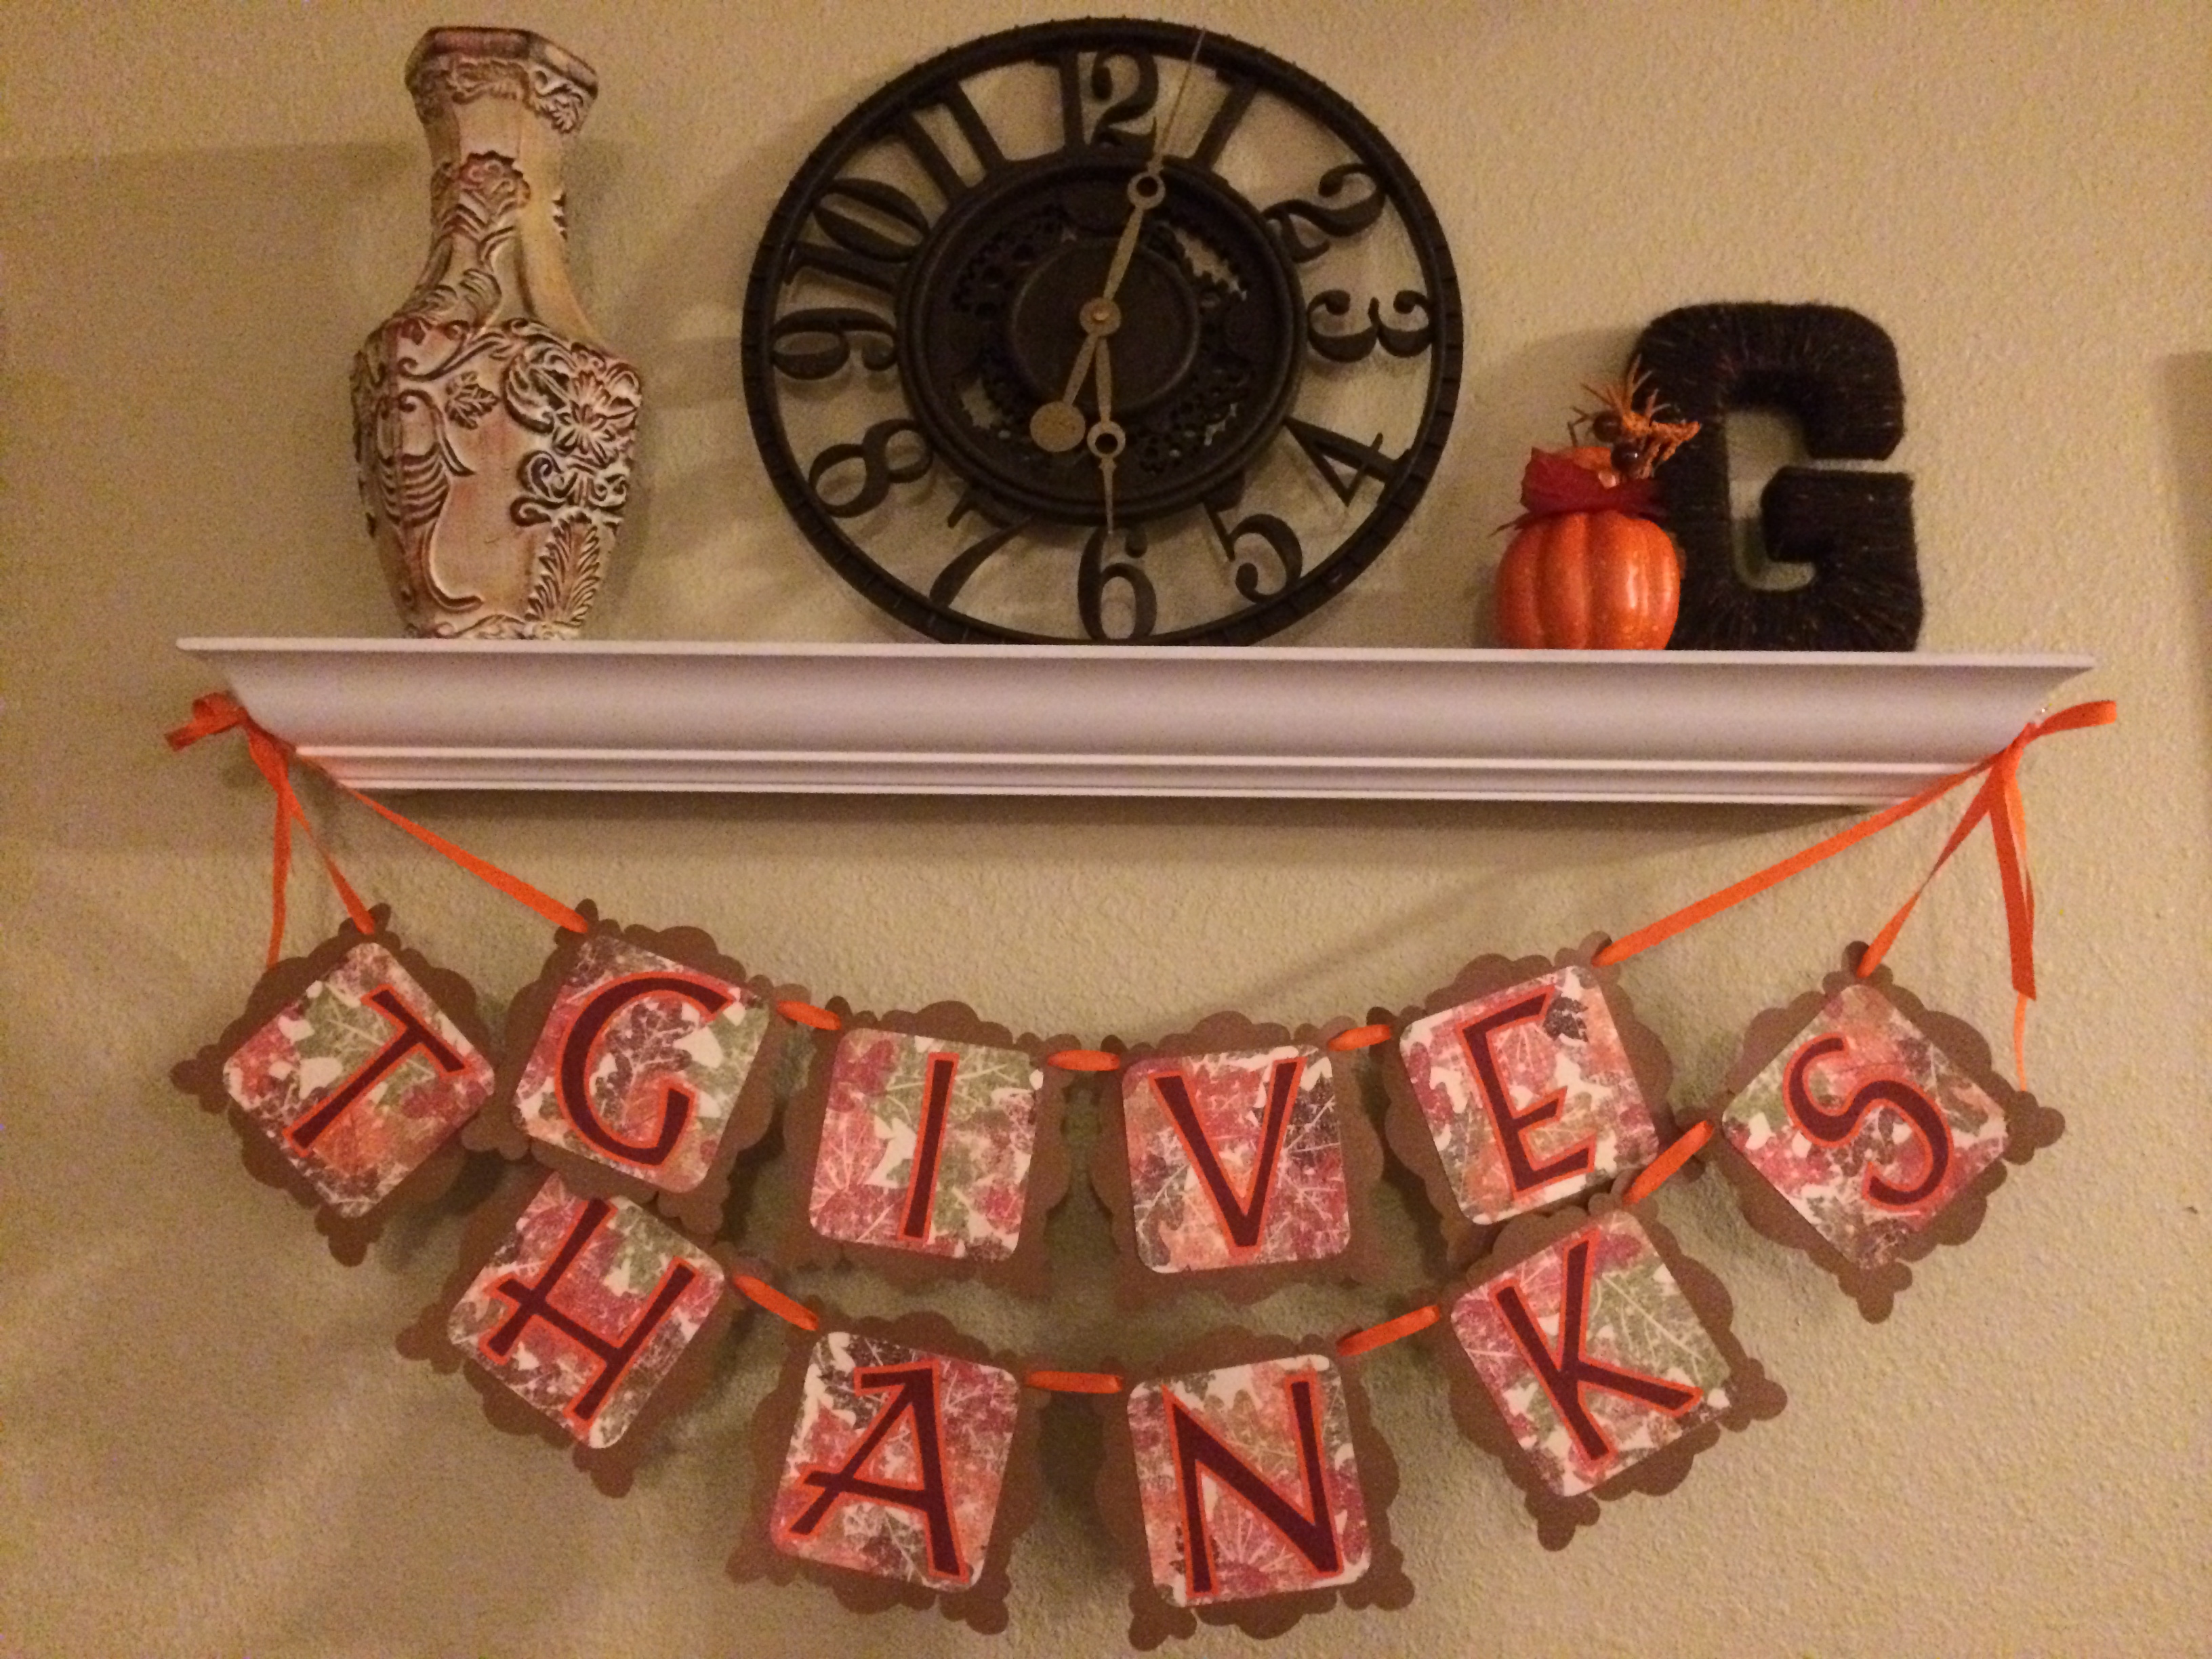
Give Thanks Banner
Supplies:
- Cardstock in Fall Colors and Patterns
- Hole Punch
- Printer
- Ribbon
- Scissors
- Glue Stick
Step 1:
This one all starts with your computer. Go into your Word program and print out the words “Give Thanks in a large block text. You can make the letters as big as you like and the final size of your letters may be determined by where you are going to hang them and how much room you have available.
Step 2:
Cut out your letters and use them as stencils. Trace their outline onto the back of your fall cardstock and proceed to cut out each of the letters.
Step 3:
Determine how big and what shape you would like your background cardstock to be. Cut out one template out of standard printer paper and use it as a template, cutting out 10 more out of your festive cardstock.
Step 4:
Using a glue stick, glue one letter onto the center of each background pennant. When you are done, punch two holes, one in each of the upper corners.
Step 5:
Thread the ribbon through the holes you punched and hang your Give Thanks banner from your mantle, entry table, wall, or decorative shelf.
This paper banner was hung from a decorative shelf using nothing more than a few thumb tacks. A bow at the end of the ribbon completes the look. This project is so easy to do that it is perfect for the older kids in your family to work on.
About Philip Travers
Twitter •
