

 WishLists
 My Account


I am absolutely in love with this super easy felt poinsettia wreath. While I was looking through my crafting stash I ran across an old metal macramé hoop and a stack of felt. These simple supplies are readily available at your local craft store but the hoop could easily be supplemented with a circle cut out of cardboard. This project is so easy that it would be a perfect beginning sewing project for a beginning sewer.
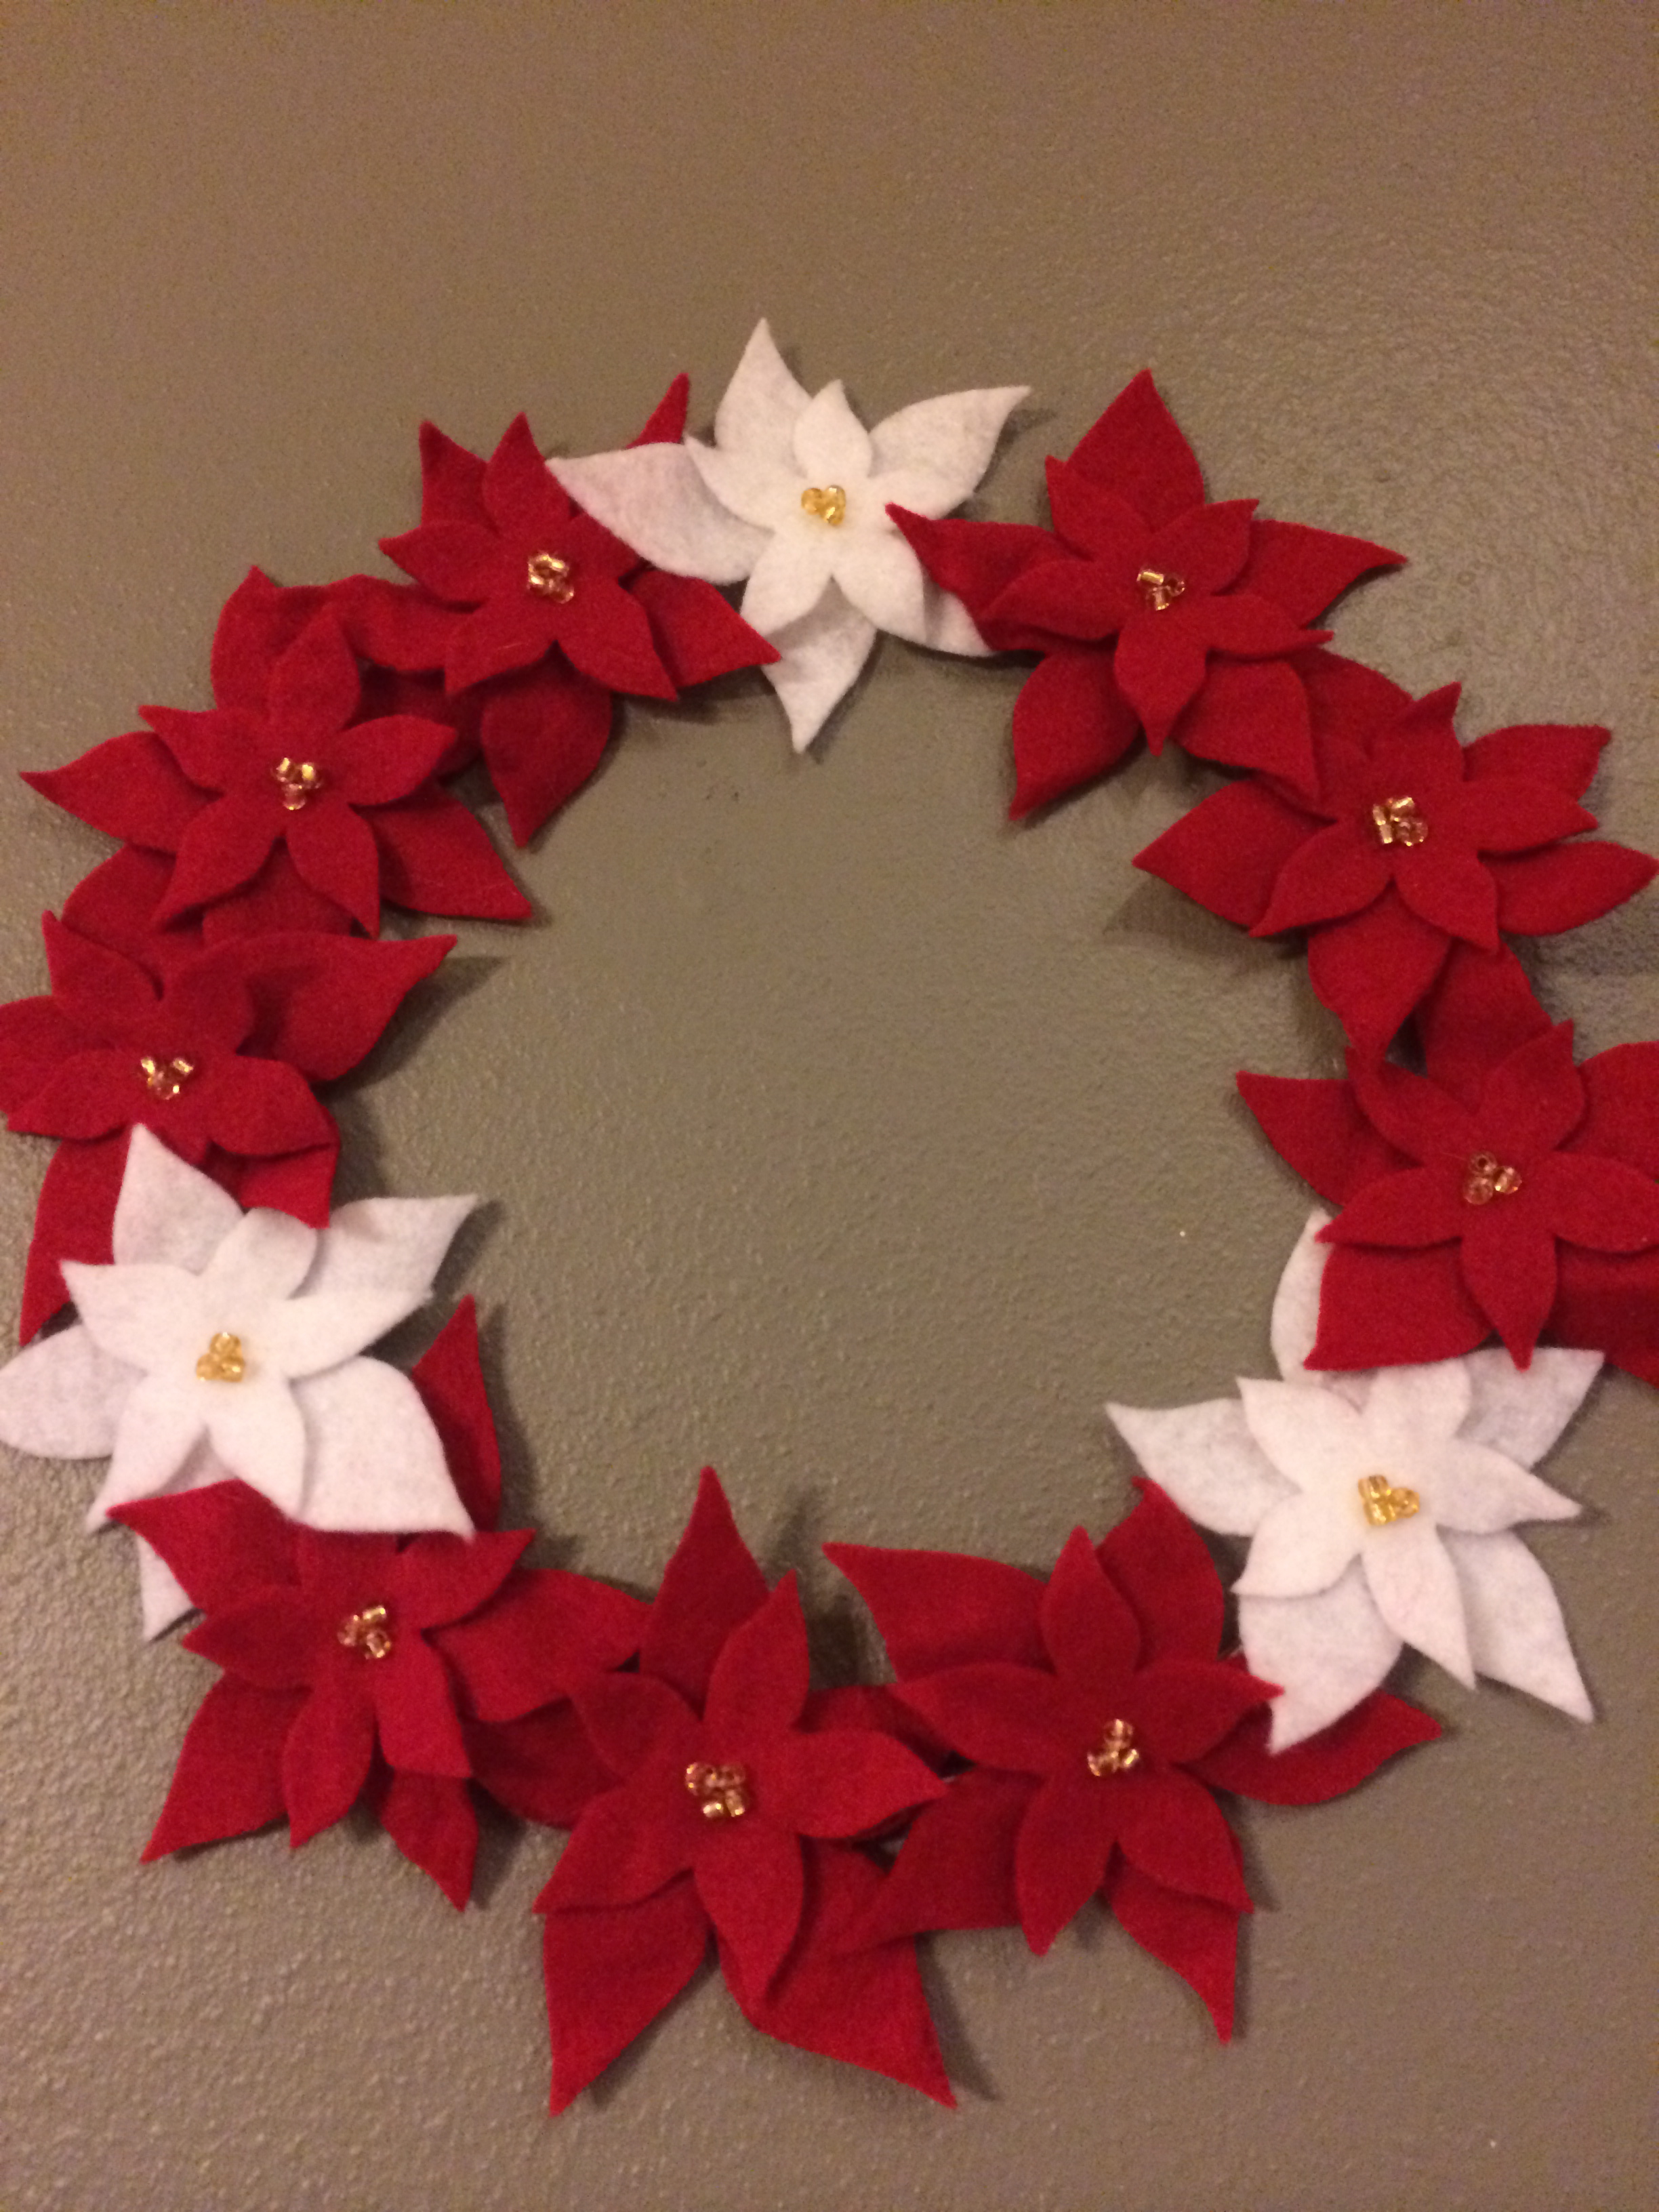
DIY Felt Poinsettia Wreath
Supply List
• Red and White Felt
• Macramé Hoop or Wreath Form
• Needle and Thread
• Gold Beads
• Scissors
Step 1:
Trace two circles, one larger than the other, on a piece of cardstock. Use those circles as your guide for hand-drawing five-petal flowers, with the tip of the petals reaching to the edge of the circle. Cut out your flowers as a template to use for tracing on your felt.
Step 2:
Cut out a big and large flower for each poinsettia that you plan on adding to your wreath. As you are cutting out, lay the bigger flowers on top of your chosen wreath form. When you have it covered, you know you have cut out enough flowers. I cut out three in white and nine in red to add an extra pop of color.
Step 3:
Simply sew the two flowers together, adding some simple gold beads to the center. Once the small flower is secured to the big one with a few stitches, sew it onto the wreath form with a couple extra stitches. This is much like you would sew on a button to a pair of pants. Continue until the whole wreath is covered. Slide the flowers around until they are evenly distributed and hang your wreath.
Print out this tutorial with step-by-step pictures here: DIY Felt Poinsettia Wreath
About Philip Travers
Twitter •
