

 WishLists
 My Account


Last week was definitely an exciting one in my household. I had the extreme pleasure of hosting a bridal shower for my sister-in-law. From the beginning, the goal was to plan a garden theme bridal shower while staying on a budget. With a little creativity and some fun budget-friendly projects, I was able to do just that. If you want to host a gorgeous garden party without breaking the bank, save yourself tons of time with planning by following this fun guide.
Before I plan any major party, I enlist the help of my friend and interior design student, Cameron O’Steen. She has an eye unlike any other and after telling her my initial vision, we were off to the drawing board to get planning. It all starts with a vision and a color scheme. I knew I wanted an ultra-feminine garden party, so we allowed the flowers to serve as the source of inspiration for the color theme.
The Flowers
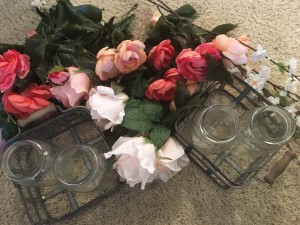
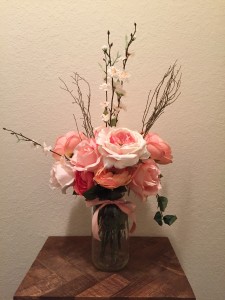
We ended up choosing four different types of artificial flowers in shades of white, cream, peach, and coral. We could have opted for real flowers, but to get the quantity we wanted, we would have spent hundreds of dollars and still, the flowers would only last a week or two at most. Instead, we opted for a beautiful artificial stem. It allowed us to purchase, plan, and arrange weeks in advance and the finished flowers could be used to decorate my home after the party.
 |
 |
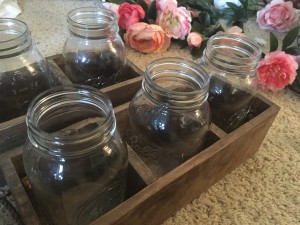
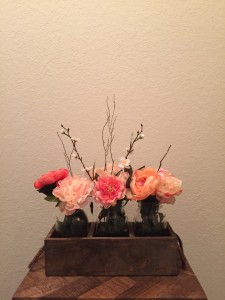
With as many arrangements as we were making, it also allowed us to give away these beautiful arrangements as gifts. For a bit of added texture, we also added some branches to the mix. In the end, we decided to make three pairs of matching arrangements, resulting in six gorgeous displays we could use around the home to reinforce our garden theme. Rustic wood, metal, and glass vases and trays added a rustic touch to our oh-so-feminine flowers without compromising the color scheme.
 |
 |
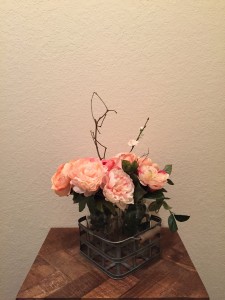 |
Filling the mason jars was easy. We simply used a pair of wire snips to cut the flowers at varying heights and then started playing around with their arrangement, making sure that some of each flower variety was represented in each arrangement. The taller flowers and twigs were the final items to be added to these arrangements.
The Decorations
Using the flowers to dictate our color scheme made it easy to select the rest of our decorations. We purchases paper plates, napkins, and ribbon that matched our flowers exactly. I cannot emphasize enough how important having a ton of ribbon really was because we used it in so many different ways and it really did tie everything together — no pun intended. There were three main things I needed to consider when decorating. I wanted to showcase the food, create a drink station, and create a photo backdrop for when the bride opened her presents.
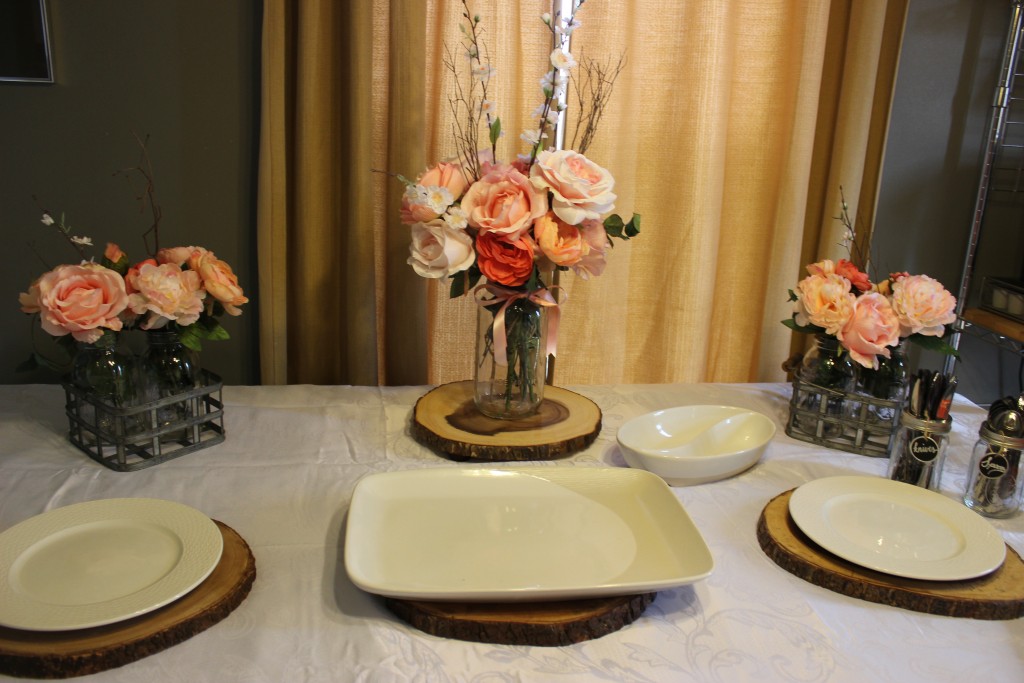
The night before the party, we went from room to room, carefully placing decorations. The long dining room table got pushed up against a wall and dressed up to create a beautiful buffet. First, we draped a burlap tablecloth over the table, making sure it just barely kissed the floor. Next, we layered on a lovely white damask tablecloth for a dressy touch. A couple of wood slices beneath the centerpiece and a few of the platters further reinforces the rustic details. Mason jars with chalk labels acted as the perfect vessels for the silver disposable flatware.
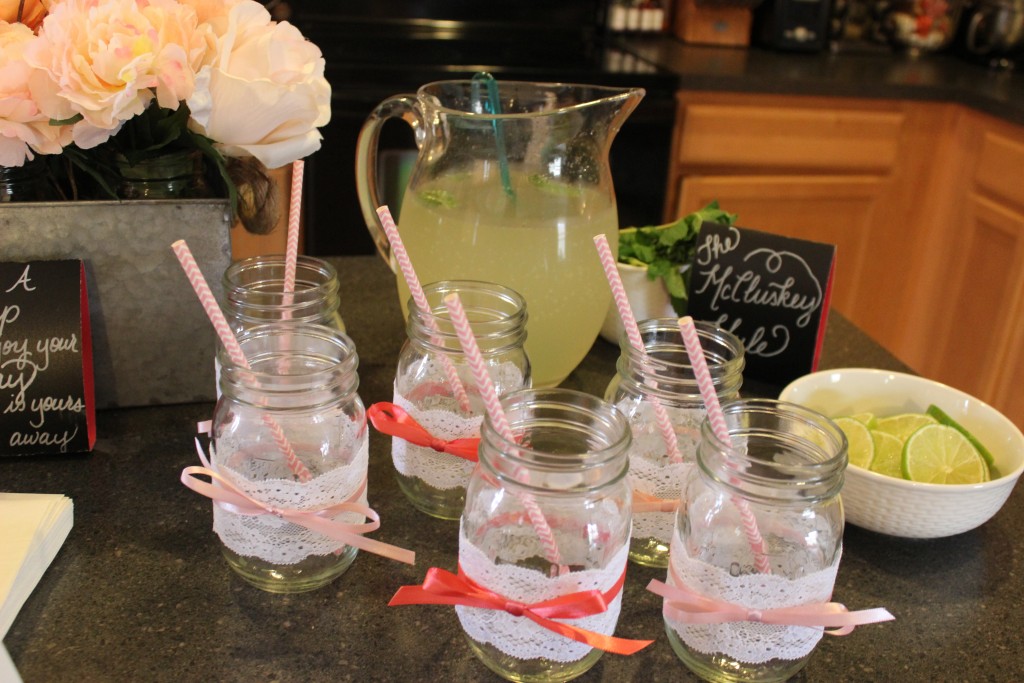
But perhaps the most impactful and inexpensive decorations we purchased were two-dozen mason jars. To repeat the look of the arrangements, we wrapped each one with a strip of lace and a narrower piece of ribbon in shades of coral and pink. A little double-sided tape was all it took to secure the lace to the glass. A paper straw completed the look. I planned to make two signature drinks so I placed two empty pitchers on the center island and arranged a dozen jars in front of each one. Chalkboard paper and a white marker made quick work of labels and signs.
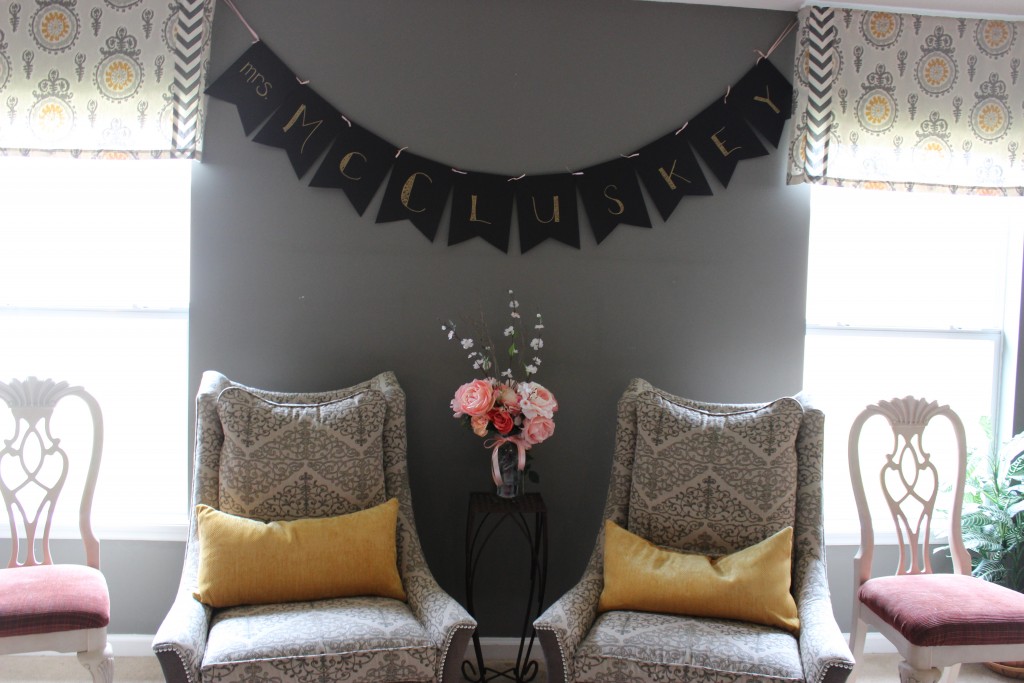
A pair of arm chairs sit between two windows in my living room. We added dining room chairs on either side for some additional seating and placed one of the taller floral arrangements on a small table in between. The look, however, would not be complete without the beautiful banner hanging above. Black card stock, a gold paint pen, a hole punch, and a bit of extra ribbon was all Cameron O’Steen needed to whip up this pretty custom banner. As guests started to arrive, we arranged their gifts around the chairs.
The Menu
With decorations in place, it was time to tackle the menu. There were a couple of goals I had in mind when designing my menu. I wanted everything to be easy for me to put together the morning of the shower. I also waned it all to be easy for guests to eat without sitting down for a formal meal. Because the shower was held at two o’clock, it was not necessary to provide a full lunch. After searching through recipes on Pinterest, I found that my menu was definitely going in an Italian direction.
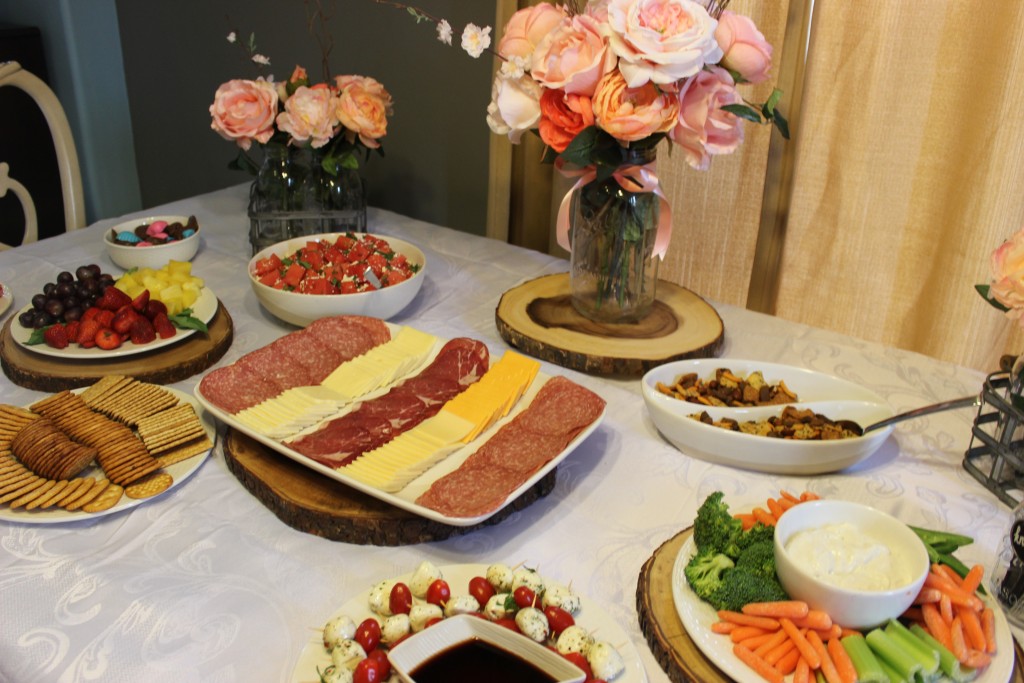
The Menu:
- Caprese Skewers
- Vegetable Tray
- Salty Snack Mix
- Meats, Cheese & Crackers
- Fruit Tray
- Chocolates
- Watermelon with Feta & Mint
- Macarons
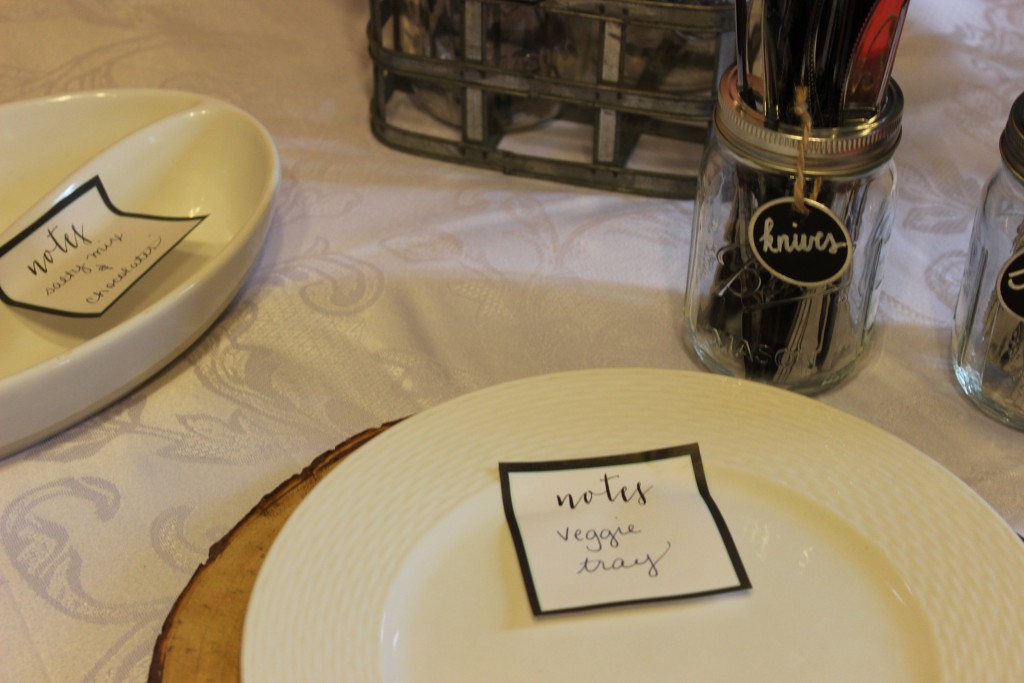
The night before the shower, I laid out all the serving platters and used sticky notes to label them with the contents. This little tip is one my grandmother has done for years and it makes the morning of a party so much easier!
How it All Breaks Down
When it was all said and done, we had a lovely party in which we were able to honor my sister-in-law. With a little prep, everything ran smoothly and came in at just $400. Let’s take a closer look at the breakdown:
- Flowers: $70
- Table Cloths: $30
- Mason Jars & Ribbon: $100
- Food & Drinks: $200
In the end, we allowed the guests to take home their drink cups but the flower arrangements stayed behind. They can easily be used to decorate for another party down the line, as can the table cloths. Some items I already owned, such as the wood chargers, pitchers, card stock and markers. If you had to purchase these items, it may cost you another $15 or so. If you have any questions about any of the projects you have seen today, feel free to reach out to us on Facebook and we will be happy to answer them for you.
About Philip Travers
Twitter •
