

 WishLists
 My Account


If you are busy planning a spring wedding or graduation, do we have the project for you! Today we are going to tell you how to make a DIY photo backdrop using boxwood mats and artificial flowers. This is an easy project that yields fantastic results.
Step 1: Create the Framework
It all starts with wooden framework. Decide how large you want your photo backdrop to be and cut a piece of plywood or MDF to those dimensions. Create stands to support the wood from behind. If you are going to add decorative edging around the sides paint them before you add the boxwood mats.
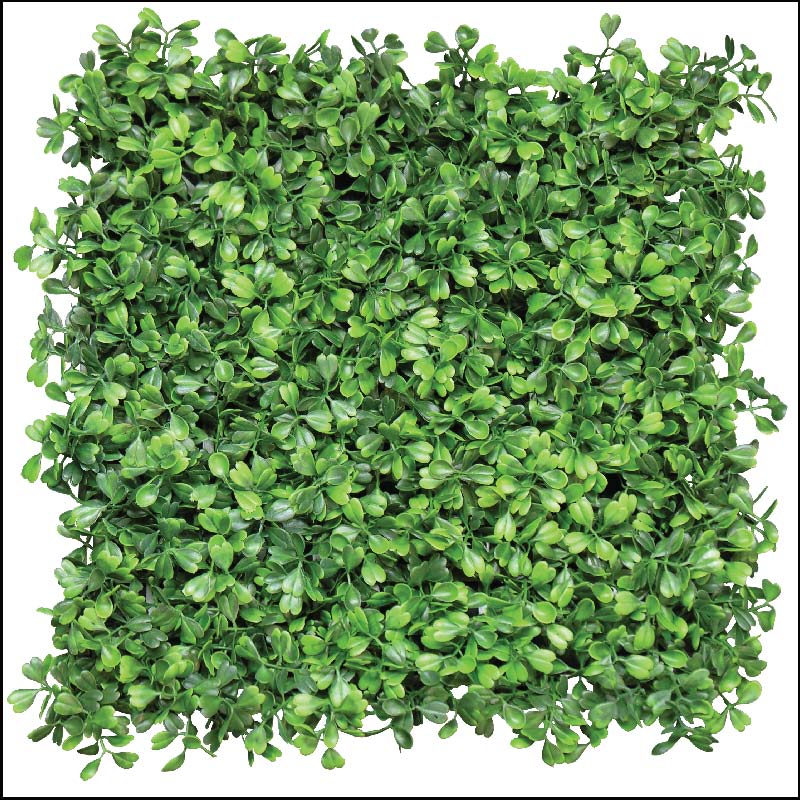
Step 2: Add Boxwood Mats
Once you have the framework made, cover it with these beautiful boxwood-covered mats. The plush greenery will be the perfect backdrop for any occasion. Choose enough mats to completely cover your framework. The next step is where the real fun comes in.

Step 3: Add Flowers
Once all of your mats have been adhered, it is time to add flowers. We have tons for you to choose from bug some of our favorites for this application are the hanging flowers such as azaleas and bougainvillea. Attach them to the top of the framework and allow the longer stems to dangle down over the boxwood. Have fun adding as many of as few flowers as needed to create the look you want.
Step 4: Make Memories
Display your new photo backdrop and watch as your family and friends have fun taking pictures in front of it.
About Philip Travers
Twitter •
