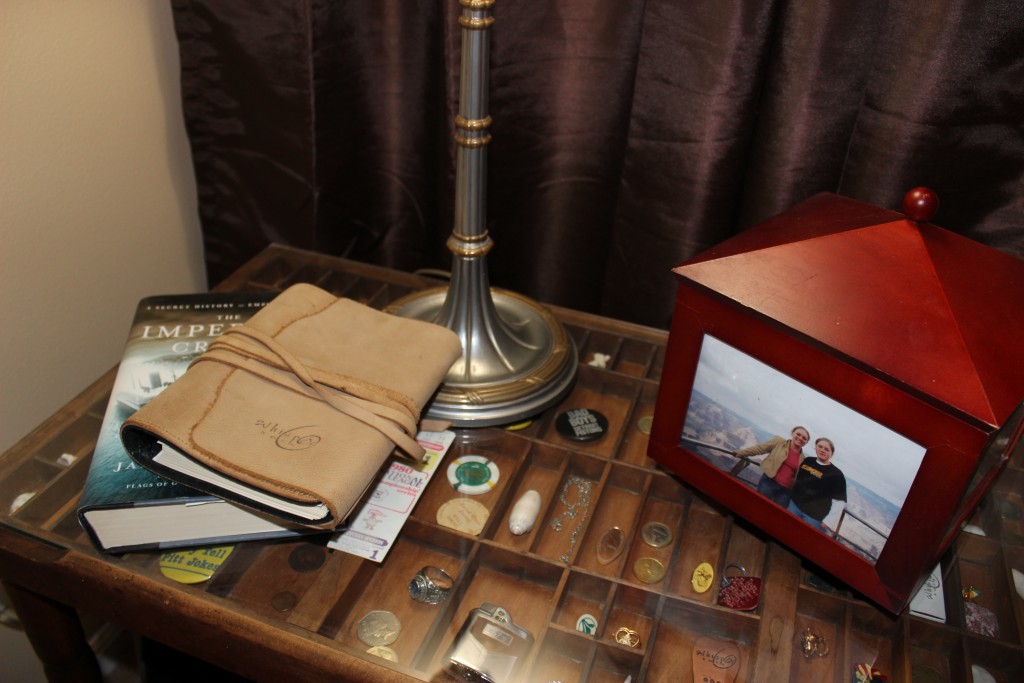
We love when a home is decorated with little personal touches that give us a clue as to the personality of the owner. These DIY printer side tables do just that. Sure, they are beautiful on their own, but what is really special about them is that they can be filled with trinkets and little memories that you wouldn’t be able to show off otherwise. The pair of printer’s trays in this video tutorial were purchased at a local antique store but they can also easily be found on websites like ETSY and ebay. The rest of the supplies are easy to find at your local home improvement store. Coming in at #2 on our countdown of the Top 5 Video Tutorials of 2014 is DIY Printer’s Tray Side Table.
Supplies
- 2 Printer’s Trays
- 8 Table Legs
- 8 Leg Brackets
- Box of Screws
- Power Screwdriver & Drill
- Wood Stain & Paintbrush or Rag
- 2 Pieces of Glass
Step 1:
Before you can do any assembling you must first stain the table legs. Choose a stain that is as close to the color of the printer’s tray as possible. Allow plenty of time for the stain to dry.
Step 2:
Turn over each of the printer’s trays and mount the brackets to each of the four corners using your drill, screwdriver, and screws. See exactly how on our video.
Step 3:
Screw the table legs into the brackets of both tables.
Step 4:
With all table legs on, go ahead and flip the table over and start filling the different cubbies with your favorite knick-knacks and trinkets. You don’t have to fill any space but the majority of them should have something inside. Once I was out of heirlooms I filled the remaining spaces with seashells collected from the shore by our house and from our favorite vacation spots.
Step 5:
The trickiest part of this whole project is getting a piece of glass cut for the top. Call around to local glass cutters and give them the exact dimensions that you need. Sometimes hardware stores will also offer this service. Make sure that the glass is at least 1/4 of an inch thick so that it is strong enough for table lamps and other items that you will place on your nightstand. Place your piece of glass on top of the printer’s tray and you are done!
Variations:
One of the best things about this project is how easy it is to add and remove items down the road. You can even change things out seasonally if you want. The possibilities are truly endless so share with us your finished project. We would love to see what you filled your printer’s tray with.
Check Out All the Videos in Our Top 5
1 2 3 4 5
About Philip Travers
Twitter •


 WishLists
 My Account


[…] 5 Best Video Tutorials of 2014: #2 DIY Printer’s Tray Side TableTop 5 Video Tutorials of 2014 […]